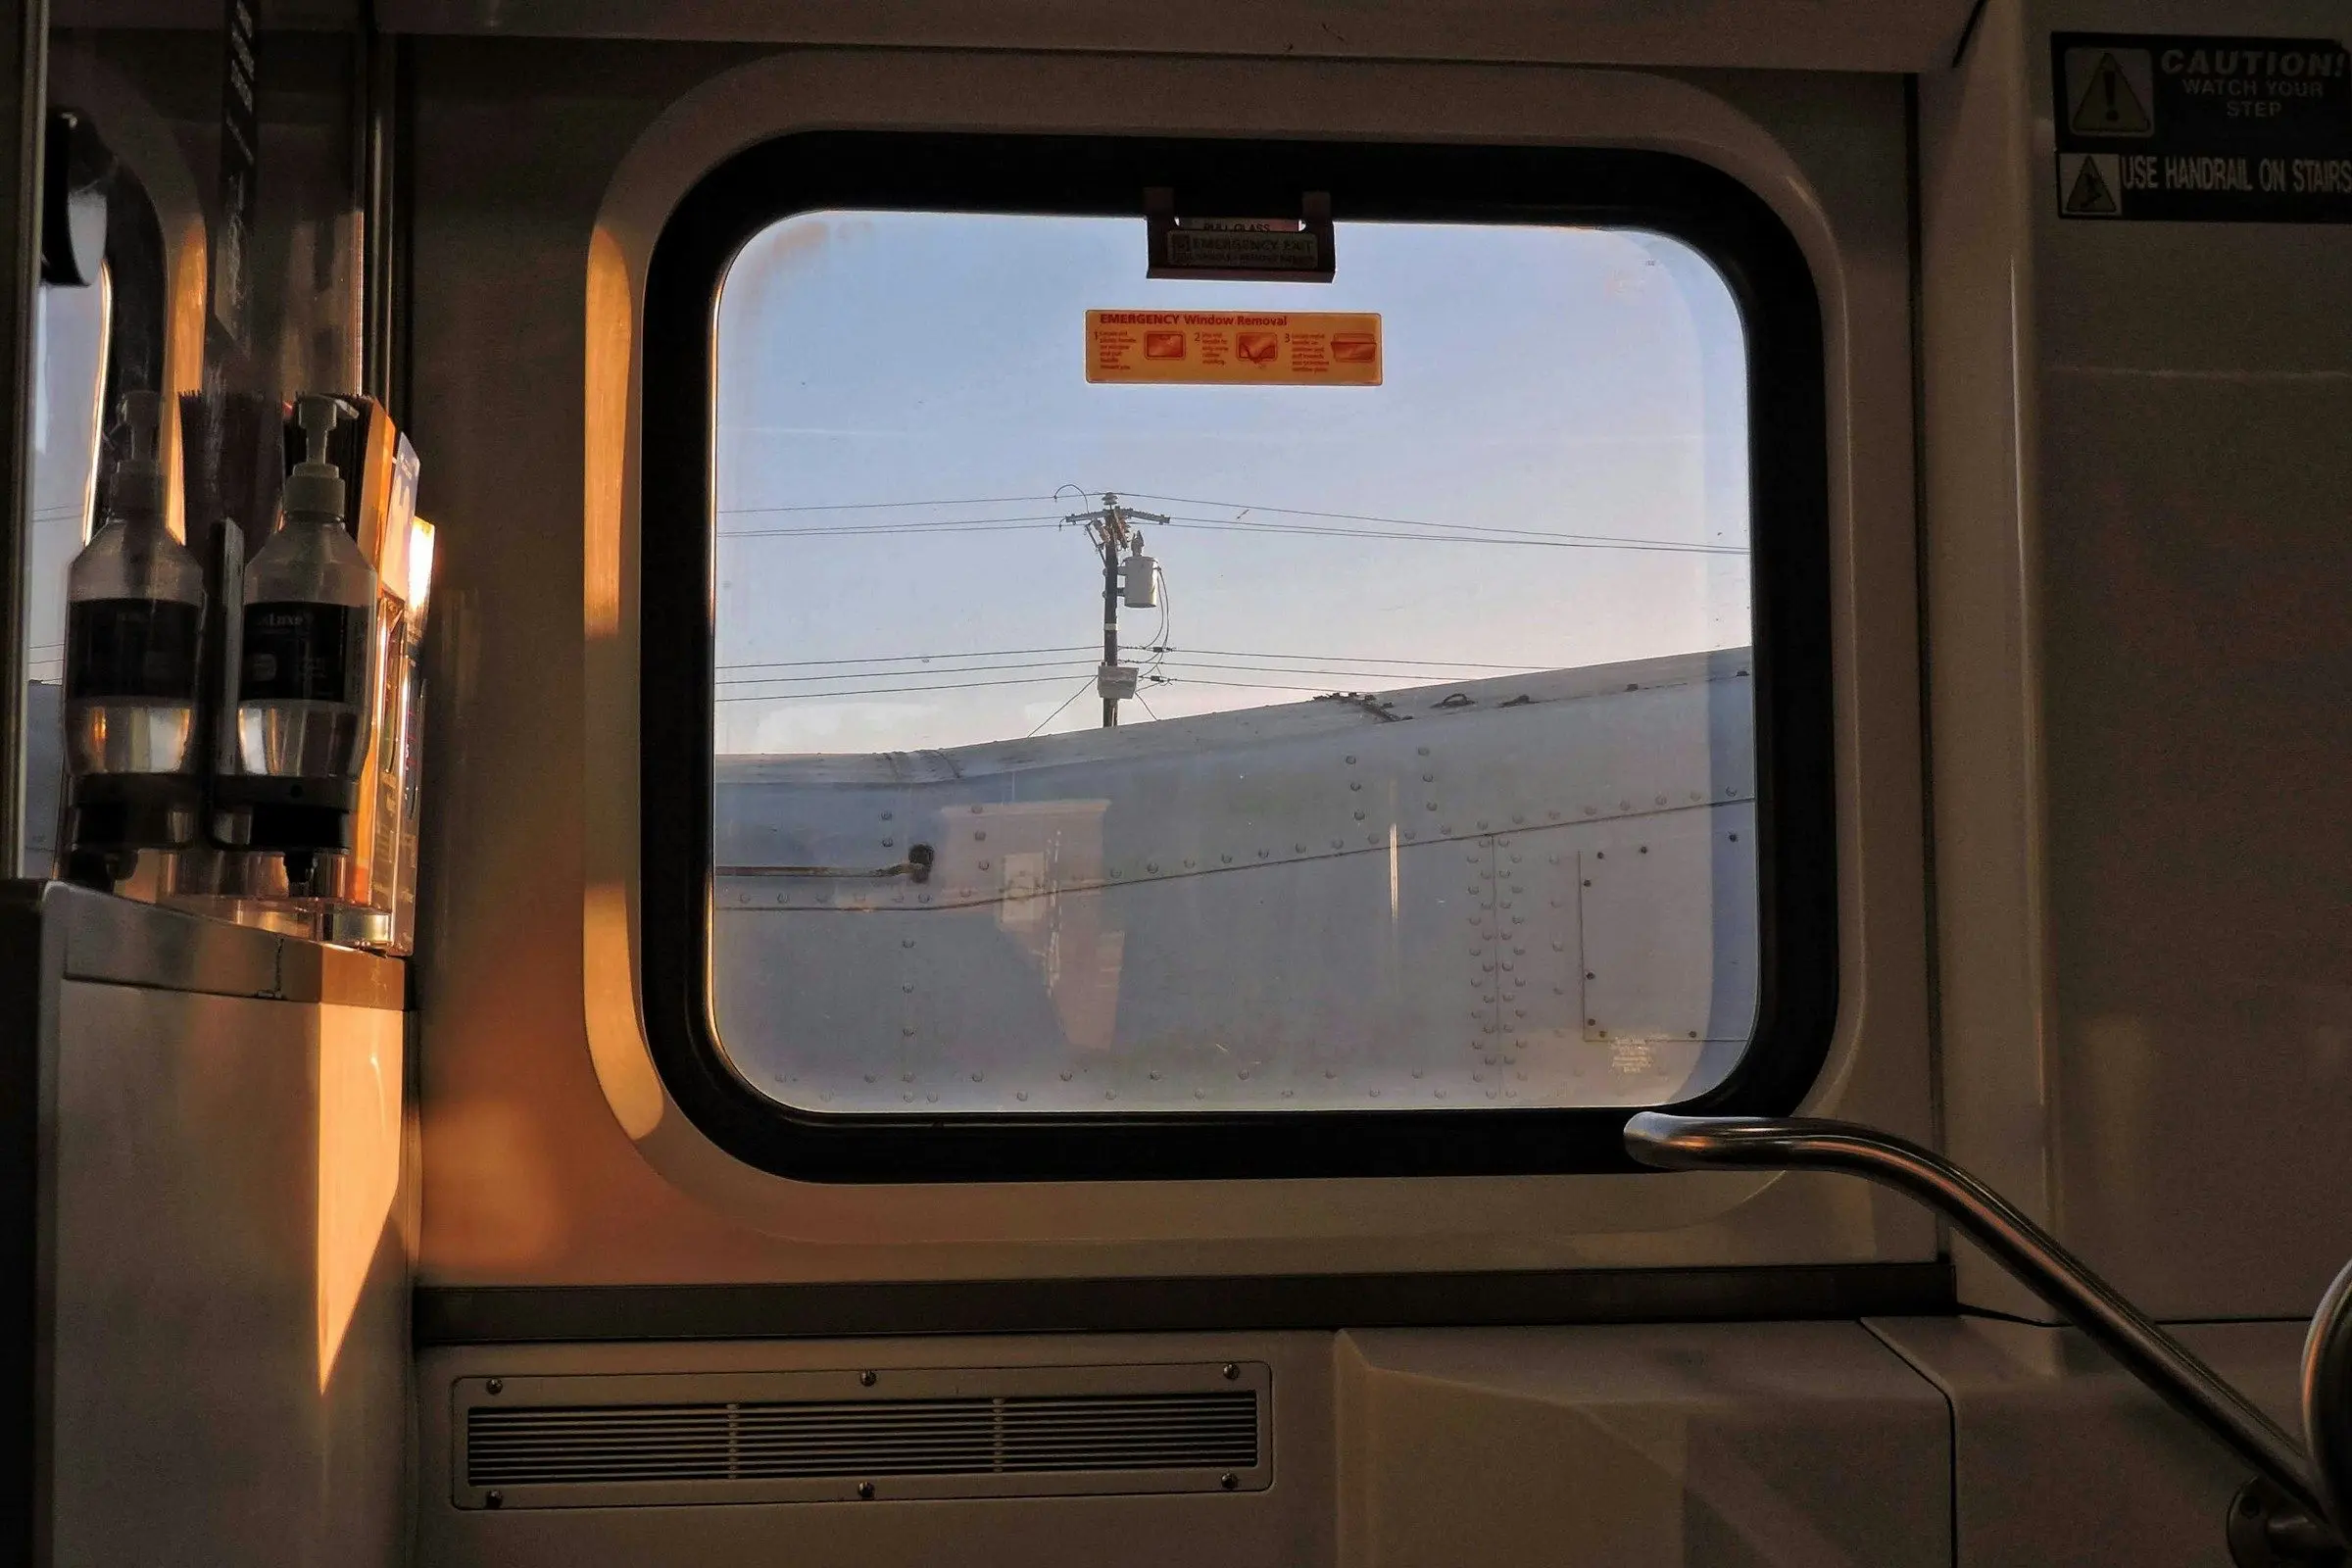
Travel map of where I've been: five ways to make one
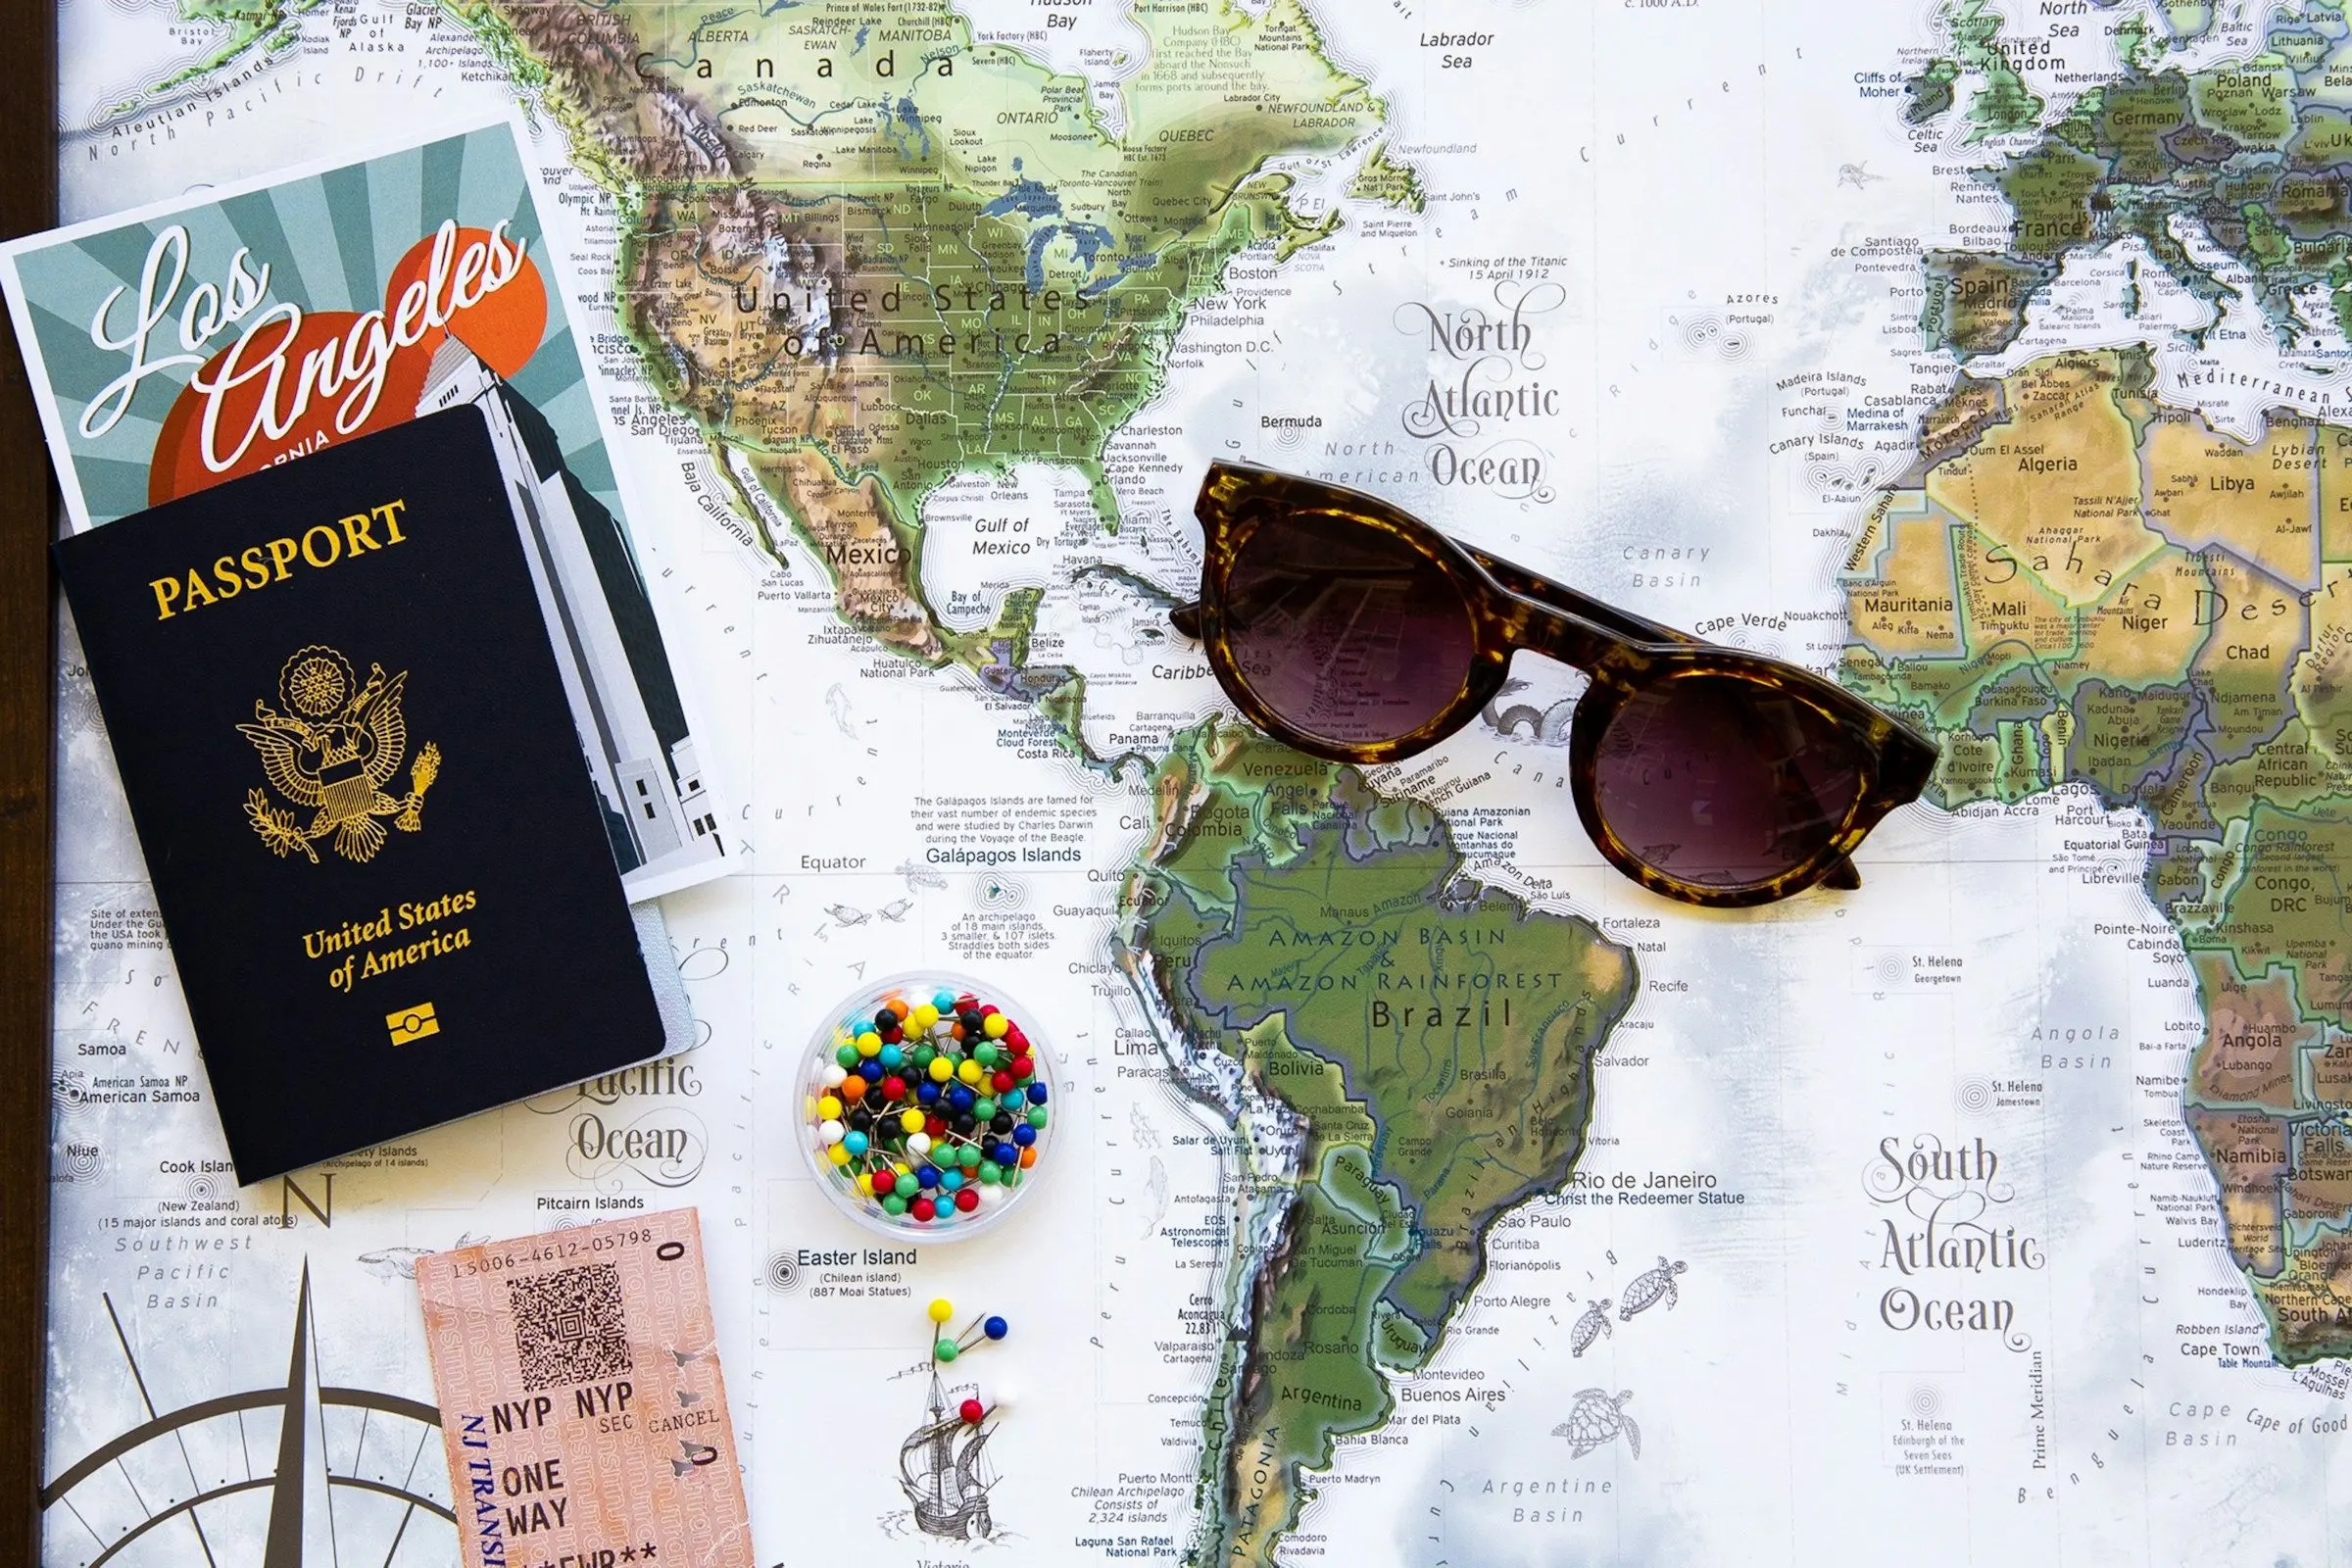
To make a travel map of everywhere you have been, first write down the places, then choose how to show them: a wall map with pins, a scratch-off poster, a custom map in a mapping tool, a spreadsheet with a chart, or a travel map that fills itself in on your phone. The list matters more than the medium, so start with it, and pick the format that you will enjoy looking at.
Here is how to build the list, what each format is good at, and how to keep the map current without it becoming homework.
Step one: get the list right
Every method starts with the same raw material. Before you buy anything:
- Choose your rule for what counts as a visit, as in what counts as visiting a country.
- Collect the places. Passport, photo library, old emails and the memories of people you travelled with all help.
- Decide your level of detail. Countries only, or cities too? A map with cities is more interesting to look at and more work to build.
- Note a year next to each. You will want it later.
Five ways to make the map
A wall map with pins
A big paper or cork map and a box of pins. It becomes part of the room, and guests ask about it. The downside: it stays on the wall, it is hard to update when you travel, and it does not travel with you or share easily, except as a photo.
Best for: people who want a piece of décor and a ritual of adding a pin after each trip.
A scratch-off poster
You scratch a coating off each country you have visited. It is tactile and satisfying. The limits are the level of detail, usually countries only, and that you cannot undo a scratch. The comparison with an app is in scratch map or travel map app.
Best for: a gift, or someone who likes the physical act.
A custom map in a mapping tool
Several free mapping tools let you save a map with your own pins and notes. You get cities, not just countries, and you can add photos or a note to each. It takes an evening to set up, and the experience depends on the tool you choose, so look at how it handles sharing before you commit.
Best for: people who want city-level detail and do not mind some setup.
A spreadsheet with a chart
A table of countries and years, with a map chart or a simple count by region. Excellent for sorting and for analysis, such as how many trips each year. Less attractive as a picture.
Best for: people who like data and want to ask questions of their own travel.
A travel map on your phone
A map in an app that fills in as you add trips, shows counts and can be shared as an image. It is always in your pocket, which is the point: you update it at the airport on the way home. The trade-off is that it lives inside an app, so choose one whose card looks good to share.
Best for: people who travel often and want it to stay current without effort.
Add the details that make it yours
A map of coloured shapes is nice. A map with context is better. Things worth adding, in any format:
- Cities, not only countries. It shows where you actually went.
- Years. You can see your travel change over time.
- One line per trip. What it was, who you went with.
- A second marker for places you want to go. See bucket list countries.
Build it in Travel Life
Travel Life has the phone version built in. Your profile carries a travel map of the countries and cities you have been to, filled in by your past trips' destinations and the places you add yourself, with counts of countries, cities and days away. You can share it as an image card: two card styles are free, and the other styles and a photo card come with Pro.
A weekend project
If you want to finish a map in one go, here is a plan that works:
- Saturday morning. Gather the list: passport, photos, emails, a chat with the people you travelled with.
- Saturday afternoon. Write the final list with years, and decide on cities or countries only.
- Sunday. Choose the format, build it, and take one clear picture of the result.
Doing it in a weekend matters because lists built over months tend to stay unfinished. When you have a complete first version, adding a new trip afterwards takes a minute.
Do not worry about getting every early trip exactly right. A map with a few forgotten weekends is a better map than none, and you can add a place whenever you remember it.
Mistakes to avoid
- Buying the poster before writing the list. You will scratch or pin the wrong places and regret it.
- Mixing countries and cities on one layer. Decide the level of detail first, or the map becomes confusing.
- Forgetting the old trips. Childhood holidays and student journeys count if they fit your rule.
- Never updating it. Put "add to the map" on your after-the-trip list, and it will stay current.
- Making it too big. A map you can see in one glance is better than one that needs a wall.
Next: share it, or keep it going
If you are proud of the result, share your travel map explains what to show and what to keep to yourself. And to keep the map accurate over years, how to track countries visited sets up the habit.